
Overlapping Tags (iXBRL)
The overlapping tags feature allows you to create multiple XBRLExtensible Business Reporting Language (XBRL) is an XML-based standard for defining and exchanging business and financial performance information. tags on the same presented value. In traditional XBRL, a second tagA tag renders a value in XBRL, made up of an element, a calendar, numeric units and a member, if needed. for a value may have been applied in a different location in the text or in the hidden section; in iXBRL, they must all be applied on the value itself. If the fact only needs multiple calendars, you can use multi-calendar tagging instead. For multiple elements, overlapping tags are required.
Example
On the balance sheet, the label for common shares or preferred shares might include language such as:
50,000 shares issued and outstanding at September 30, 2019 and December 31, 2018, respectively

The number 50,000 is stated only once in the presentation, but represents four separate facts:
- 50,000 shares issued at September 30, 2019
- 50,000 shares issued at December 31, 2018
- 50,000 shares outstanding at September 30, 2019
- 50,000 shares outstanding at December 31, 2018
Creating Overlapping Tags
To create an overlapping narrative tag using View Tagging Paragraph:
- Apply the first narrative tag to the value as usual (see Tag Narrative Values).
- Apply the second tag to the same row in the Certent DM Tagging Paragraph window.
- The Overlap ElementThe representation of a financial reporting concept, including: line items in the face of the financial statements, important narrative disclosures, and rows and columns in tables. window appears, with the message:
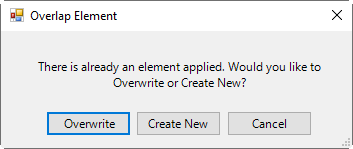
There is already an element applied. Would you like to Overwrite or Create New? - Click Create New to create an overlapping tag. (To replace the existing element instead, click Overwrite.)
- A duplicate of the tagged row will appear in the tagging paragraph window.
Deleting Overlapping Tags
To delete an overlapping tag:
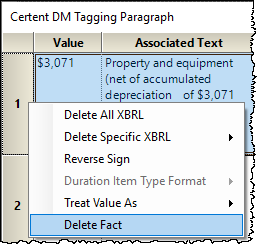
- With the report checked out, open the Certent DM Tagging Paragraph window.
- Right click on the row, then Delete Fact.
Copyright © 2021 Certent