
Table Banding
To band tables with blue and white row shading, set a start banding marker for the table, then apply the banding. Table banding may be used both on table CrossLinks and native Word tables.
For issues with banding, see Table Banding Troubleshooting.
Setting up and Applying Banding
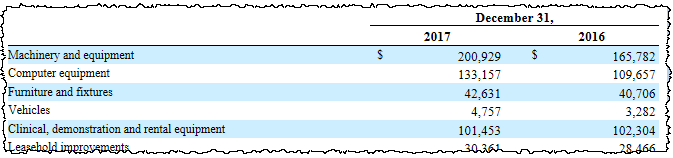
Example
Initial Set-up: Start Banding
Before you can band a table for the first time, you'll need to set up Start Banding on the first row that you would like blue. The subsequent rows will alternate blue and white except where Skip or Maintain is applied.
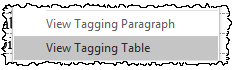
- With the report or section checked out, right click in the table, then select View Tagging Table.
- Identify which row should be the first with blue banding. The first blue row is commonly either the first with a numeric value, or the first with a label below the headings in the left column.
- In the Certent DM Tagging Table window, right click the row number of the first blue row, then select Start Banding.

- Click OK to close the window.
Apply Banding Using Band Current Table
For the blue and white shading to show up on the table, such as after updating links, apply the banding to the table:
- Click inside the table to be banded.
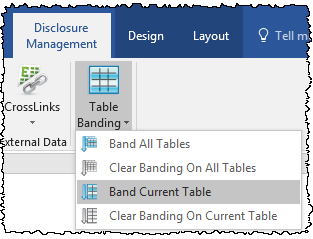
- On the Disclosure Management ribbon, click Table Banding, then Band Current Table.
Other Table Formatting
After creating a new table CrossLink, you may like to also:
- Set row heights to automatically adjust (see Adjust Row Height).
- Change the table CrossLink to Destination formatting to avoid having to re-apply the banding as often (see Source/Destination Formatting.
Banding Adjustments
- To set up multiple blue or white rows together, see Maintain Banding.
- To force a row or cell to show as white (no banding color), use Skip Banding.
Band All Tables
Band All Tables allows you to apply banding to all the report tables in one step. Depending on the size of the report, it may take a few minutes. In order to use this function, every table must have a Start Banding markers set up, and all tables must be within report sections.
Next: Skip Banding
Table banding allows you to set up and maintain rows of alternating blue and white color on your tables. Banding can be used both on table CrossLinks and Word tables. To set up banding on a table for the first time, first we'll need to select what will be our first blue row. Commonly we may select either the first row with a label outside the headings, or the first row that shows numerical values. Right click in the table and select View Tagging Table. Identify the row you'd like to be your first blue row. Here we use "Assets" and we'll right click on the row number. Select Start Banding. You may like to also set up Skip Banding or Maintain Banding from this view. Click OK. To apply the banding, on the Disclosure Management ribbon, click Table Banding, then Band Current Table. On the Disclosure Management ribbon, under Table Banding, you may also like to use Band All Tables to quickly band all of the tables throughout your report. When you update a table CrossLink, banding will disappear, although the Start Banding row is still in place. You can reapply the banding by using Band Current Table again. If you'd like the banding to stay in place even when you update a table, consider using Destination formatting.
Copyright © 2021 Certent